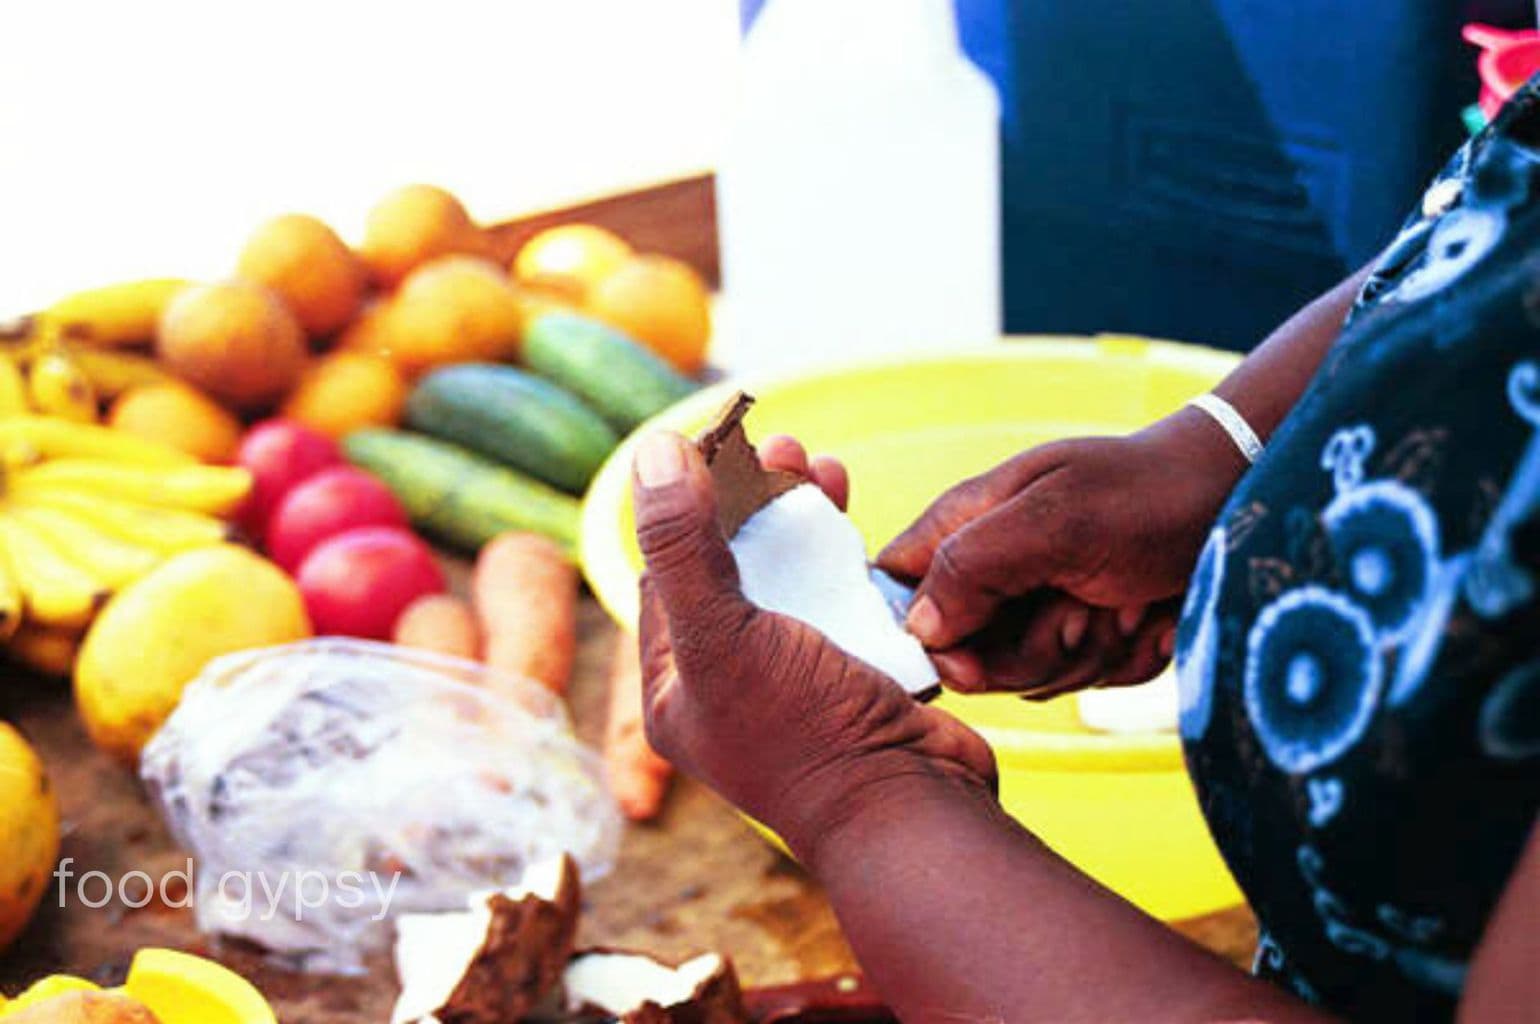
The kitchen is the great equalizer. Food doesn’t care about the colour of your skin…
Sprouting in the Kitchen
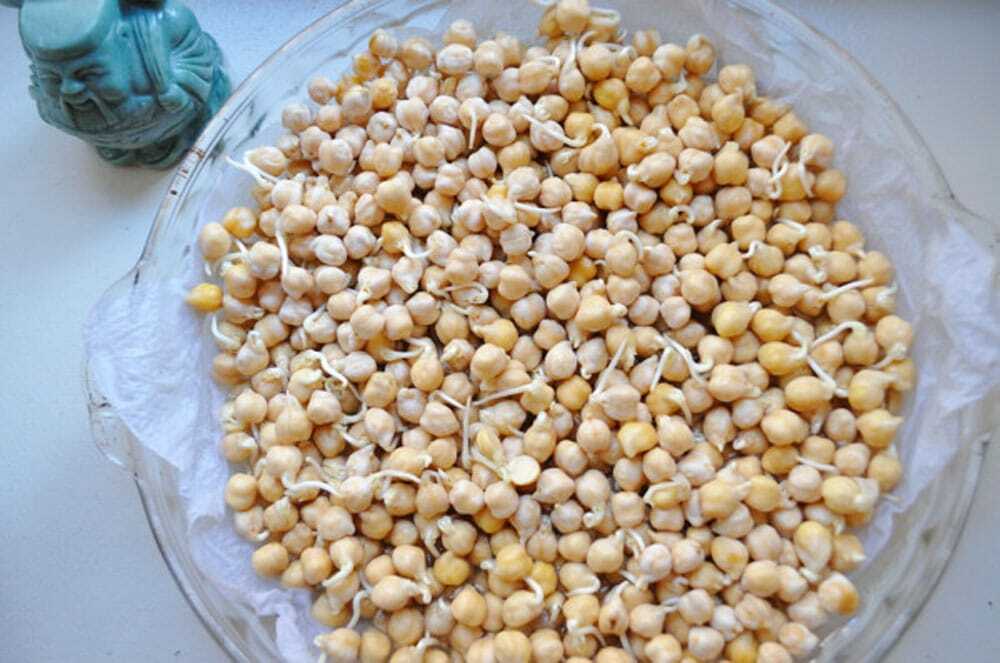
Sprouts? Really?! In the Gypsy Kitchen? You betcha’, we’re sprouting chickpeas on the top of the fridge, where it’s nice and warm.
Oh yeah, nothing I like more than growing things then eating them. As spring (slowly) ascends here in Ontario, I’m craving all things growing and — alive. Sprouting Chickpeas is fun. By day three… IT’S ALIVE!
When we talk about food in terms of fuel and energy think for a moment about the amount of energy that a seed produces to grow. Sprouting increases the protein, essential amino acids, enzymatic activity, vitamins, and fiber content.
“(Sprouts) supply the highest amount of vitamins, minerals, enzymes, etc. of any food per unit of calorie.” ~ from The Wonders of Sprouting by Lucie Desjarlais, RNC
In fact, sprouting can increase the protein content of a seed by up to 50%, contain vital enzymes and increase the vitamin content by 20 or 30 times. That’s a whole lot of nutrition.
Yeah spouts.
Plus it’s fun and easy and if you have kids… it’s the science of food in the kitchen. Who knows, they might even eat them.
I’ve read several articals that suggest adding (3% food grade) hydrogen peroxide to avoid mold in your spouts but most of the articles I read were spouting in a semi-closed environment (IE: a jar with a cheesecloth lid).
I borrow a page from the garden and spout things for the kitchen the exact same way I do for the dirt. On an open tray (or pie plate) between two sheets of paper towel – spread seeds to cover bottom, cover with lukewarm water overnight, keep moist and warm for three to six days.
Rinse thoroughly under cold water. Refrigerate growing spouts to maintain freshness until ready to use.


My favourite sprouting spot is the top of the fridge. Warm and dry. I rarely sprout in the heat and humidity of summer, so this might be one of the reasons I’ve never experienced slime, mildew or mold on tiny, growing seedlettes.
I usually start with organic seeds/grains bought in bulk form my local health food store, but regular off-the-shelf supermarket beans/peas/grains sprout just as well, in fact that’s what you see here.
In this case I’m spouting chickpeas (or garbanzo beans) for this week’s “Sprouted Hummus” recipe. More fun things to spout include mung beans, alpha, lentils, broccoli, arugula, buckwheat, red clover, radishes, wheat-grass, sunflowers and peas all make tasty sprouts. (we’ll cover wheat-grass, sunflowers and peas in a related post, for micro greens, they take a little longer and a bit more care)
- Here’s a great online resource for home spouting: http://www.sprouting.com/homesprouting.html
Use them in salads, pastas, sandwiches, burgers or dips. Three and a half days later I turned these lovely growing beauties into smooth, creamy hummus with double the protein and massive amounts of vitamins.
They were ALIVE when I put them through the food processor… akkkk, the screaming of the chickpeas (just kidding, they hardly screamed at all).
Good, and good for you. Sprout away…

Related Posts

This Post Has 0 Comments